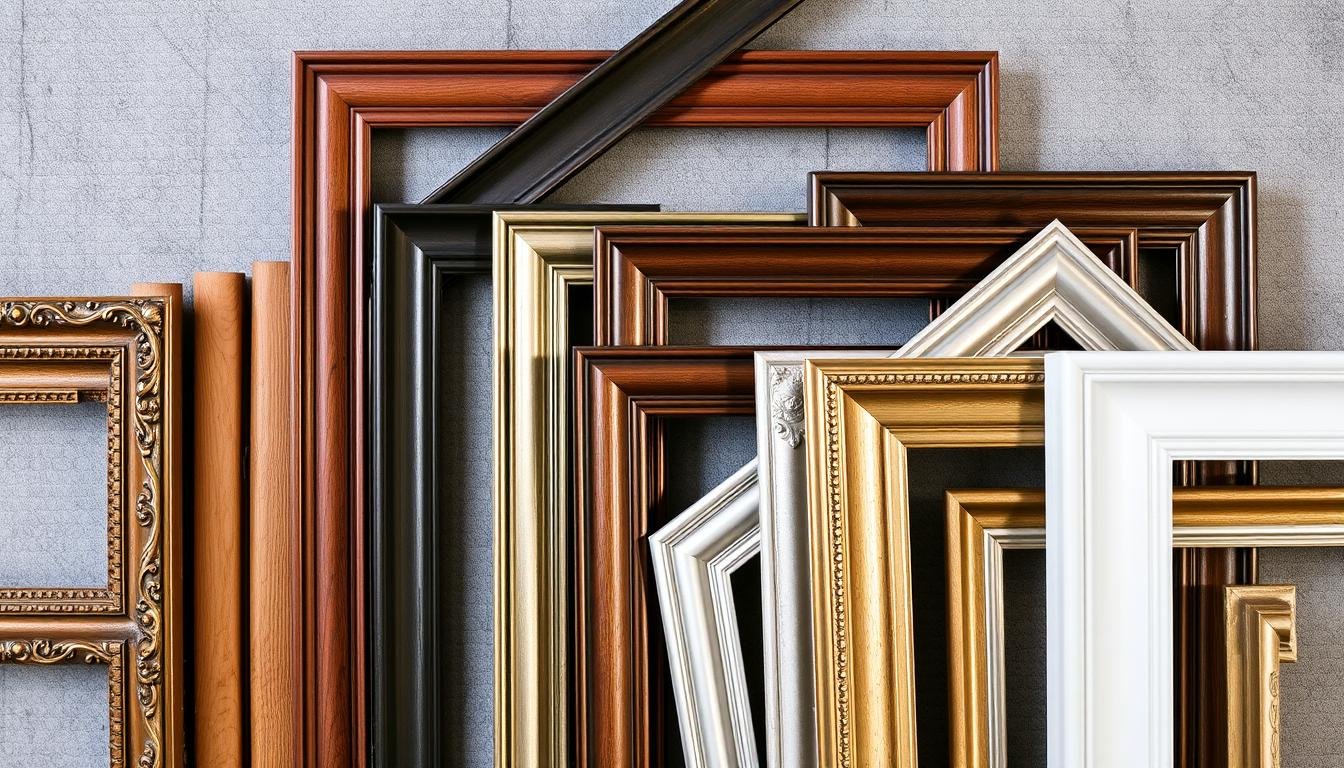
As a homeowner, you know that details are key. From furniture to color schemes, every choice affects your space’s feel. Picture frame molding adds character and interest to any room. It’s a classic touch that can make a big difference.
Picture frame molding can turn a simple wall into a stunning piece of art. It adds depth and beauty to your space. But, choosing the right style, materials, and techniques is crucial for success.
In this guide, we’ll show you how to pick the best picture frame molding for your home. You’ll learn about the basics and how to install it. With this knowledge, you’ll be ready to create the beautiful spaces you’ve always wanted.
Table of Contents
Understanding Picture Frame Molding Basics
Picture frame molding, also known as box trim, is a decorative trim for walls that looks like a picture frame. It has been around for centuries, changing with each artistic era. From the Renaissance to the Industrial Revolution, it shows how design has evolved.
Traditional vs Modern Molding Styles
The style of picture frame greatly affects a room’s look. Traditional styles have ornate profiles and detailed carvings, giving a classic feel. Modern styles, on the other hand, have simple lines and less ornamentation, for a modern look.
Common Molding Materials and Their Benefits
Picture frame comes in many materials, each with its own benefits. Wood is traditional and versatile, offering many finishes. Metal adds a sleek, industrial look. Plastic and composite materials are durable and affordable.
The Impact of Molding on Room Aesthetics
Choosing the right picture frame can change a room’s feel. The molding’s style, material, and finish can enhance the framed items, making the room look better. It’s great for art galleries, commercial spaces, or homes, making the framed items stand out.
“Picture frame molding is a versatile and timeless element that can transform the look and feel of any space, from the classic to the contemporary.”
Planning Your Picture Frame Molding Project
Planning is key for a successful picture frame molding project. Start by making a Pinterest board. It helps you find the perfect framing supplies, custom frames, and picture framing materials for your home.
Think about the molding size based on the room’s scale. Wider molding fits big spaces, while thinner profiles are better for smaller areas. Decide how many boxes you’ll have on each wall and how far apart they’ll be, usually 3.5 to 6 inches.
Plan for any obstacles like toilets, sinks, and light switches. Make sure your picture framing materials fit around these without ruining the design.
Choose a molding style that matches your home’s design. Whether you like traditional or modern, the right framing supplies and custom frames can change your space.
| Metric | Average |
|---|---|
| Percentage of rooms where picture frame moulding is a popular addition | 75% |
| Ratio of rooms opting for classic full-wall picture frame moulding with chair rail | 1:3 |
| Proportion of cases where door or window trim depth impacts chair rail selection | 60% |
| Cost comparison: PVC vs. other moulding materials | 20% less expensive |
| Frequency of DIY projects using PVC moulding | 85% |
With careful planning, your picture frame molding project can make your home look amazing.
“Picture frame molding is a game-changer for adding depth and character to any room.”
Measuring and Layout Techniques
Installing miter cut moldings and frame accessories needs careful measurement and layout. Start by using the “rule of thirds” to divide your wall space. This method helps create a balanced and pleasing look.
Measure and mark your walls with a level and pencil. Draw boxes or use painter’s tape to show where your miter cut moldings and frame accessories will go. Keep a consistent spacing of 3-4 inches around each box and between them.
Spacing and Proportions
When planning your layout, focus on spacing and proportions. Place your miter cut moldings and frame accessories 3 to 4 inches from edges and between boxes. This spacing makes your design look harmonious and appealing.
Creating a Visual Blueprint
Use a laser level to mark your wall divisions for easier layout. This tool is especially helpful on big walls. After outlining your boxes, figure out how much miter cut molding you’ll need. Add 10-15% extra for waste or cuts.
For a professional look, use a spacer board (like a 3.5″ wide one) to keep spacing even. This small detail makes your space look polished and cohesive.
“Proper planning and layout are the keys to a successful miter cut moldings and frame accessories installation. Take the time to create a visual blueprint and ensure consistent spacing for a truly impressive end result.”
Selecting the Right Molding Profile
Choosing the right molding can change your home’s look. It adds a decorative touch or a subtle accent. The molding should match your home’s style and the room’s size. You can pick from many options, like finger-jointed base cap molding or sleek shoe molding.
Think about the material too. Medium-density fiberboard (MDF) is easy to use, while natural wood like oak looks premium. The molding’s profile should fit your desired look. Wider molding is bold in big spaces, while thinner profiles are better in smaller ones.
When planning to use molding in other rooms, keep it consistent. This creates a unified design. Picking the right molding can make your space look better and more sophisticated.
| Molding Type | Typical Cost per Linear Foot | Aesthetic Impact |
|---|---|---|
| Shoe Molding | $0.50 – $1.50 | Subtle, simple accent |
| Quarter-Round Molding | $0.50 – $4 | Decorative, adds visual interest |
| Chair Rail Molding | $1 – $3 | Adds architectural detail, divides wall space |
| Picture Rail Molding | $1 – $3 | Showcases artwork, creates a focal point |
| Base Molding | $1 – $10 | Provides a finished look, covers wall-floor gap |
| Crown Molding | $4 – $50 | Adds elegance, frames the ceiling |
Exploring molding options can enhance your space’s look. Whether you want traditional, modern, or timeless, the right molding can make your home picture-perfect.
Essential Tools and Materials Needed
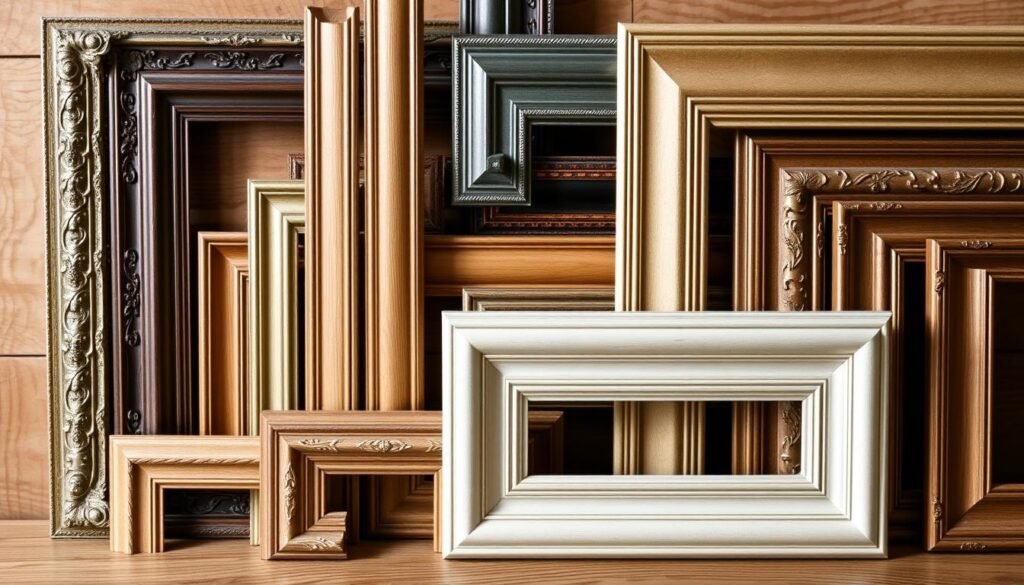
Creating the perfect picture frame needs a special set of tools and materials. From cutting to installing, the right tools make a big difference. They ensure your project turns out great.
Cutting and Installation Equipment
A miter saw or miter box is key for clean cuts in your framing supplies and picture framing materials. A 23-gauge pin nailer makes attaching molding to walls easy and secure.
Remember the basics like a tape measure, pencil, and laser level. They help you install things level and right. A caulk gun is also useful for filling gaps.
Finishing Supplies
After installing, it’s time for the final touches. You’ll need wood filler for nail holes, sandpaper for smooth surfaces, and primer and paint for a perfect match with your decor.
Safety Gear Requirements
Always prioritize safety with power tools. Wear protective eyewear and a dust mask when cutting and sanding. A cordless brad nailer is safer and easier to use.
With the right tools and materials, your picture frame project will be easy. Make sure you have everything before you start. Your space will look amazing and professional.
Working with Different Wall Textures
Adding wall frame molding or decorative molding to your home can really make it stand out. The texture of your walls is important to consider. Luckily, you can make these elements work with many types of walls.
For walls with a light texture, like an orange peel effect, you can put the molding right on. But, if your walls are heavier, like knockdown, you might need to skim coat them first. This makes the surface smooth for the molding.
Whether to smooth the wall or keep the texture depends on what you like and the look you want. Textured walls might need extra caulking for a clean look. But, the effort is worth it for a beautiful finish.
| Wall Texture | Recommended Approach | Estimated Time | Estimated Cost |
|---|---|---|---|
| Light (Orange Peel) | Apply molding directly | 4-5 hours | Under $100 |
| Heavy (Knockdown) | Skim coat or install hardboard | 6-8 hours | $100-$150 |
Planning and proper installation are key, no matter the wall texture. With creativity and care, you can turn any wall into a beautiful display for your wall frame molding and decorative molding.
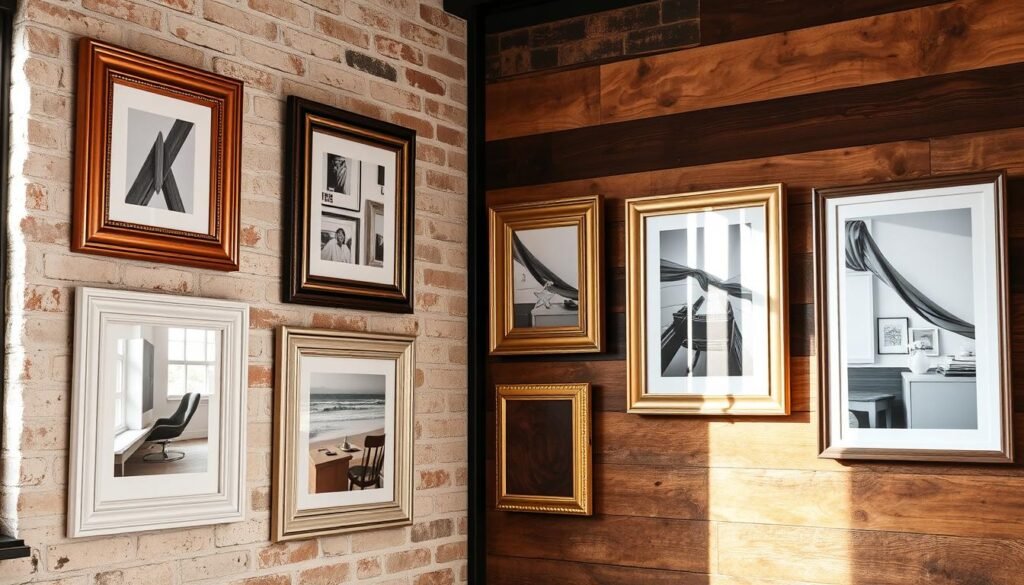
“Picture frame molding can visually separate pictures into groups without breaking up the wall.”
Installation Methods and Techniques
Creating the perfect picture frame for your home needs careful planning. We’ll look at the best cutting methods, mounting steps, and corner solutions. This will help you get a flawless finish.
Precise Cutting Approaches
For smooth corners, cut your miter cut moldings at 45-degree angles with a miter saw. This makes a clean joint that looks professional. Cutting all pieces the same height first makes the job easier.
Proper Mounting Procedures
Start with the bottom corner and use a level for straight lines. Nail the molding to the wall with a brad nailer and 1.5-inch nails. Keep checking for level and square as you go to keep everything looking good.
Corner Joint Solutions
For perfect corners, cut 45-degree angles on the ends of the molding. This creates a smooth join. You can also use wood glue for extra strength.
By using these detailed steps, you can make your room look better with frame accessories that fit perfectly with your decor.
Finishing Touches and Paint Selection
As you near the end of your picture frame project, it’s time for the final touches. These steps will enhance the look and blend the molding with your space. From filling nail holes to picking the right paint, these details are crucial for a polished finish.
Begin by filling nail holes with spackling compound and sanding them smooth. This prepares the surface for painting. Then, apply caulk along the edges where the molding meets the wall. This ensures a smooth transition.
Choosing the right paint is key. You can pick a color that matches the wall for a subtle look. Or, go for a contrasting color to highlight the picture framing materials and frame ornamentation. This makes them a bold statement in your room.
If your molding is raw wood, apply at least three coats of paint. Use a fast-drying caulk to speed up the process. Remember to sand lightly between coats for a perfect finish.
“The right paint color can truly transform the look and feel of your space, making the picture frame molding the star of the show.”
By focusing on these finishing touches, your picture frame will look amazing and fit perfectly with your room’s decor. Take your time with these details. You’ll get a result that impresses everyone who sees it.
Conclusion
Picture frame molding is a great DIY project that can make any room look better. It adds beauty and interest to walls, turning them into eye-catching features. With some planning and effort, you can get a high-end look that impresses everyone.
There are many picture frame molding options to choose from, fitting all tastes and skills. Whether you like classic or modern styles, wall frame molding can enhance your space. It also protects walls, hides flaws, and gives a clean finish.
Whether you’re experienced or new to DIY, the joy of completing this project is huge. With the right tools and knowledge, anyone can achieve amazing results. So, get creative and see how picture frame molding can change your home’s look for the better.
FAQ
What is picture frame molding?
Picture frame molding, also known as box trim, is decorative trim for walls. It looks like a picture frame. It comes in many styles, from classic to modern, and can make a room look better.
What are the common materials used for picture frame?
Common materials include finger-jointed base cap molding and shoe molding. MDF is easy to work with, while wood like oak gives a premium look.
How do I plan a successful picture frame project?
Planning is key for a successful project. Think about the room’s size and how many boxes you want. Use painter’s tape to draw boxes on the wall. Keep the spacing even around all sides.
What tools and materials are needed for installing picture frame?
You’ll need a miter saw, a brad nailer, a laser level, and a caulk gun. Also, a measuring tape, pencil, molding, brad nails, caulk, and safety gear like protective eyewear.
How do I install picture frame on textured walls?
You can install molding on textured walls. But, think about how the texture will look. For light textures, you can apply molding directly. For heavier textures, you might need to skim coat or use thin hardboard first.
What are the best techniques for cutting and installing picture frame molding?
Cut molding at 45-degree angles for corners. Start from a bottom corner and use a level for straight lines. Attach with a brad nailer, checking for level and square. For corners, cut opposing 45-degree angles for a smooth join.
How do I finish the picture frame installation?
After installing, fill nail holes with spackling and sand. Caulk edges for a seamless look. Prime the molding and wall, then paint. For raw wood, apply multiple coats and sand between for a smooth finish.
Source Links
- Picture Frame Molding Accent Wall — Ashley French – https://mrsashleyfrench.com/blog-archives/hallway-accent-wall
- DIY Picture Frame Moulding – https://theturquoisehome.com/diy-picture-frame-moulding/
- Picture Frame Wall Molding — Em Hales Home – https://www.emhaleshome.com/front-room/picture-frame-wall-molding
- What is Moulding in Picture Framing – https://www.intco-framing.com/blog/what-is-moulding-in-picture-framing.html
- How To Install Picture Frame Moulding – Taryn Whiteaker Designs – https://tarynwhiteaker.com/how-to-install-picture-frame-moulding/
- DIY Picture Frame Molding – Maison de Pax – https://www.maisondepax.com/diy-picture-frame-molding/
- Install picture frame molding with flexible trim – https://realitydaydream.com/how-to-install-and-caulk-picture-frame-molding/
- Five Things to Know Before Installing Picture Frame Moulding – Renee Renovates – https://reneerenovates.com/5-things-to-know-before-installing-picture-frame-moulding/
- picture frame molding | dining room makeover | Miss Mustard Seed – https://missmustardseed.com/picture-frame-molding-dining-room-makeover/
- Transforming Our Stairway with Picture Frame Moulding – https://bonafideorganizing.com/transforming-our-stairway-with-picture-frame-moulding/
- How to Install Picture Frame Molding on Your Walls – https://homeandhallow.com/how-to-install-picture-frame-molding-on-your-walls/
- No Saw Picture Frame Molding Installation | Emma Courtney Home – https://emmacourtneyhome.com/how-to-install-picture-frame-molding-the-no-saw-method/
- Picture Perfect Walls: How to DIY Picture Frame Molding – allisonskiff.com – https://allisonskiff.com/2024/04/24/how-to-diy-picture-frame-molding/
- How To Choose Interior Molding – https://www.thisoldhouse.com/walls/21016764/how-to-choose-interior-molding
- How to Create Simulated Panels with Molding – https://www.thisoldhouse.com/molding/21016055/how-to-create-simulated-panels-with-molding
- DIY Box Moulding on a Textured Wall – How We Do – https://howwedo.net/diy-box-moulding-on-a-textured-wall/
- 20 Picture Frame Molding Ideas You’ll Want to Copy ASAP – https://www.bhg.com/picture-frame-molding-ideas-8621847
- How We Transformed Our Living Room with Custom Box Trim Wall Molding – https://cassiejblog.com/diy-wall-trim-molding/
- Is Picture Frame Molding Outdated – https://www.intco-framing.com/blog/is-picture-frame-molding-outdated.html
- 10 Creative Wood Wall Molding Ideas for Your Home Décor – Art Millwork Blog – https://www.artmillwork.com/blog/wood-wall-molding/
